Harnessing Photoshop effects can significantly elevate your web design projects, adding depth, style, and visual interest. With over three decades of development, Adobe Photoshop has become an indispensable tool for both beginners and professionals, offering a vast array of effects, filters, and editing options that enable limitless creative possibilities.
Understanding how these effects work and how to apply them effectively allows designers to translate their ideas into captivating visuals. Below, we explore some of the most useful Photoshop effects for web design, along with practical tips and inspiring examples.
Blur Effects
The blur effect is often used to spotlight a subject by softening the background. Photoshop offers various tools, including the Blur Brush for targeted softening and filters like Gaussian Blur for uniform blurring.
To apply Gaussian Blur:
– Navigate to Filter > Blur > Gaussian Blur
– Adjust the Radius Slider to control the intensity
Using selections, you can isolate specific areas to keep sharp while blurring others, creating a professional depth of field.
In modern web design, subtle hover effects with Gaussian Blur can add sophistication. For instance, applying a slight blur on images or backgrounds on hover states enhances interactivity, as seen in themes like NeoBeat, where hover effects on backgrounds and buttons create a dynamic user experience.
Noise for Vintage and Artistic Effects
Adding noise introduces a grainy texture reminiscent of film grain, imparting a vintage or artistic feel. This effect is ideal for portfolios, creative websites, and projects aiming for an analog aesthetic.
To add noise:
– Go to Filter > Noise > Add Noise
– Adjust the amount to achieve the desired graininess
Noise works beautifully on monochrome surfaces or combined with other effects for a layered, textured appearance. Examples include portfolios like Bølge, where grain complements pastel hues and floral elements, or Hendon, where subtle noise adds elegance to large monochrome areas.
Enhancing Typography with Minimum and Maximum Filters
The Minimum and Maximum filters are less conventional but powerful tools for manipulating shapes and text:
– Found under Filter > Other > Minimum/Maximum
Minimum reduces the whitespace around shapes or fonts, making large headlines more compact or creating a bold, solid look.
Maximum spreads out the white space, making strokes thinner and more delicate.
These filters are particularly effective when paired with bold fonts or outlined text, adding a distinctive, artistic touch to headlines and titles.
Motion Blur for Dynamic Effects
Motion Blur simulates movement, making objects appear as if they are in motion—ideal for conveying speed or energy. To apply:
– Select Filter > Blur > Motion Blur
– Set the Angle and Distance parameters
A common technique involves converting images to black-and-white, enhancing contrast, then adding motion blur to create a sense of movement, often used in fashion or experimental photography.
Interestingly, you can mimic this effect manually by layering and decreasing opacity of shifted copies, providing more control over the final look.
Creating Outlined Text
Outlined text adds a bold, modern aesthetic. To create:
– Use the Type tool to add text
– Right-click the layer and choose Convert to Shape
– Adjust stroke color and thickness via the Toolbar
Combining outlined text with noise or blur effects results in striking visuals, as demonstrated in websites like Shotaro Momoi’s minimalist designs or the Breton theme, where outlines emphasize contemporary style.
Color Effects with Photo Filters
Photo Filters in Photoshop allow quick color tone adjustments. Accessible via Layer > New Adjustment Layer > Photo Filter, they include warming, cooling, and antique effects like Sepia, which imparts a reddish-brown hue reminiscent of vintage photographs.
Adjust the Density slider to control intensity, and combine filters with vibrance adjustments to fine-tune the look. Examples include websites featuring antique statues or nostalgic imagery, where sepia enhances the vintage feel.
Layer Styles and Blending Modes
Multiply blending mode is excellent for darkening images or adding depth:
– Right-click on the layer, select Blending Options, and set the mode to Multiply
This effect is often used in logo design or overlaying textures, as seen in projects by Ian Perkins or Farewell NYC, where overlapping elements gain richness and cohesion.
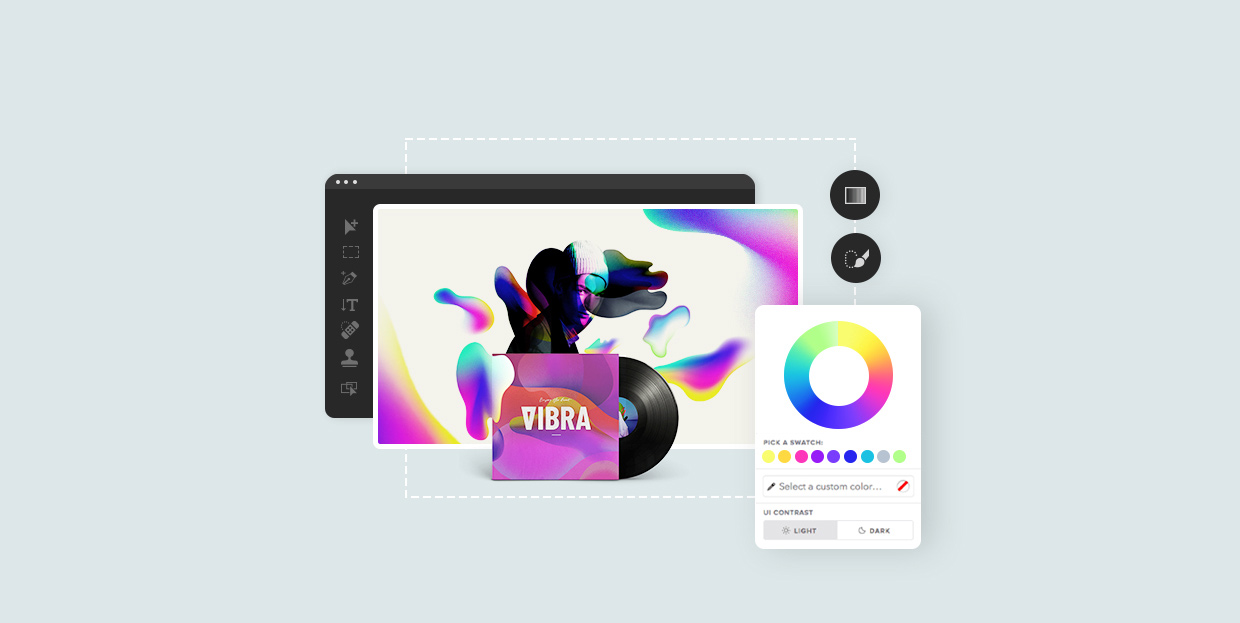
Gradient Overlay creates seamless color transitions, useful in backgrounds, hovers, or abstract art. Combining gradients with noise or brush effects produces modern, futuristic aesthetics, exemplified by projects like MiM Montréal or Vibra.
Outer Glow for Neon and Highlight Effects
Outer Glow mimics neon lighting, especially when combined with dark backgrounds and contrasting colors. It’s widely used for icons, headlines, and buttons to create vibrant, glowing effects.
Applying Outer Glow:
– Choose the layer or object
– Access Layer Style > Outer Glow
– Set the color, size, and opacity for desired luminosity
This effect is prominent in cyberpunk or sci-fi themed websites, such as the futuristic design of The Ether or gaming themes like Eldritch.
Liquify for Artistic Distortion
The Liquify filter allows you to distort, push, or bloat parts of your image or text, creating fluid, organic shapes. It’s ideal for headlines or artistic accents.
To use:
– Go to Filter > Liquify
– Use tools like Forward Warp, Pucker, or Bloat
For example, the Zermatt theme employs distorted typography for a bold visual statement, while other designs incorporate liquified elements for a surreal, dynamic look.
Text Masking and Layer Clipping
Text Mask enables images or patterns to appear within text or shapes, adding depth and complexity. To create a Text Mask:
– Place your image or pattern layer above your text
– Hold Alt (Windows) or Option (Mac), then click between the layers in the Layers panel
This technique was used effectively in the Querida theme, blending floral motifs with vibrant typography, and in Sheldon Stenning’s site, where abstract patterns emerge through animated rectangles.
Vivid Light for Vibrant Colors
Vivid Light mode enhances contrast and saturation, producing vibrant, sometimes neon-like hues. Use it carefully, adjusting opacity to avoid overwhelming the design.
Examples include bold, colorful websites like Dystopian Creatives, which leverage this mode to create striking visual effects that stand out.
Final Thoughts
Photoshop’s extensive toolkit offers endless creative options for web designers. Experimenting with effects like blurs, noise, outlines, and blending modes can transform ordinary images into eye-catching visuals that elevate your entire project.
If you’re interested in understanding the broader process of designing a website, exploring what are the seven stages involved in designing a website can provide valuable insights into how these visual effects fit into the overall development cycle.