Designing a web application extends far beyond choosing appealing colors and logos. It involves a meticulous process that integrates data architecture, user experience, interface design, and functionality to create a seamless and engaging product. Whether you’re building a simple tool or a complex platform, understanding the core principles of effective web app design is crucial for success. This guide walks you through each essential step, providing insights and best practices to help you craft user-centered, efficient, and scalable web applications.
Once you have a clear understanding of the design process, you can leverage resources like comprehensive web design strategies tailored for various industries. From defining your core problem to testing and refining your product, each phase plays a vital role in delivering a compelling user experience.
What is Web Application Design?
Web application design involves creating an interactive, functional digital product that users can operate to perform specific tasks. Unlike static websites primarily aimed at information dissemination, web apps are dynamic, often involving complex data handling, user inputs, and real-time responses.
A key distinction made by industry professionals, such as Matthew Traul, is that:
“Website design primarily focuses on the aesthetic and informational aspect, creating content for an audience. In contrast, web app design emphasizes building a system that allows users to create, modify, and manage data—think of booking systems, online stores, or project management tools.”
In essence, web app design combines both user experience (UX) and user interface (UI) considerations to develop products that are not only visually appealing but also highly functional and easy to use. If you’re uncertain about which approach suits your project, exploring web app versus website comparisons can help clarify your path forward.
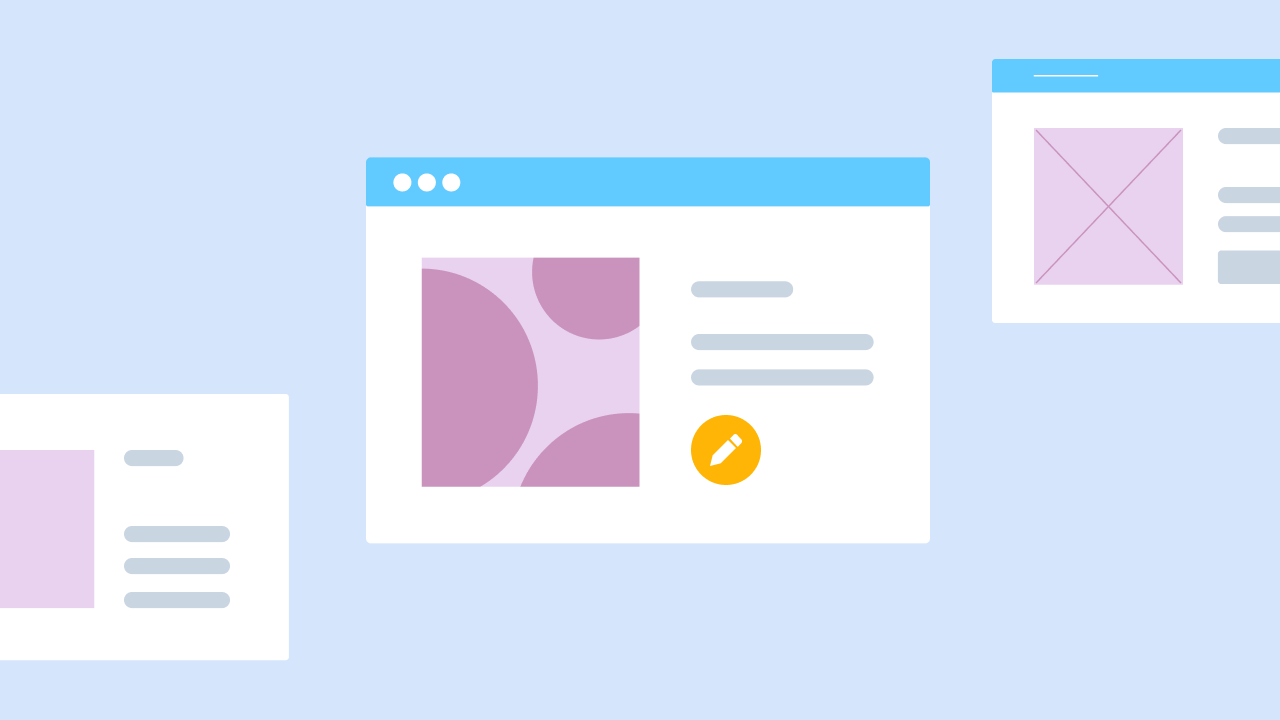
How to Design a Web Application, Step by Step
Creating a web app involves a structured approach that integrates strategic planning, design, development, and testing. The process is about more than aesthetics; it’s about building an intuitive, scalable system that meets user needs and business goals. Here’s a detailed breakdown of each phase:
Step 1: Define the Problem
Focus on solving a real user challenge rather than crafting a visually impressive interface. As Christine Shiba, a senior product designer, emphasizes:
“A lot of designers get caught up in the look and feel early on, but the core of any successful product is addressing a genuine problem. Design must stem from understanding the user’s needs.”
Start with thorough market research to gather insights into your target audience’s needs and expectations. Analyzing existing solutions helps identify gaps and opportunities for differentiation. Engaging directly with potential users through interviews, surveys, or focus groups enables deeper understanding of their pain points and desired outcomes. This foundational step ensures your product addresses relevant challenges and offers meaningful value.
- Conduct comprehensive market analysis to understand user needs.
- Analyze competitors to identify opportunities for differentiation.
- Engage with users to validate problems and potential solutions.
Step 2: Define Core Elements and Structure
Once the problem is clear, focus on establishing the structural foundation of your web app. This involves planning the information architecture—the organization of content, pages, and navigation—to create an intuitive flow.
Simultaneously, consider the data architecture—how your app will store, organize, and manage data. A well-structured data system prevents future messiness and facilitates smoother workflows. Creating wireframes at this stage helps visualize layout and interaction, serving as a blueprint without diving into detailed design. Testing these wireframes with users or stakeholders can validate your approach before moving into detailed design.
- Organize content hierarchically for logical navigation.
- Map out data relationships and storage needs.
- Develop wireframes to visualize layout and user flow.
- Validate wireframes through user testing to refine structure.
Step 3: Build a Robust Design System
A design system acts as the blueprint for your app’s visual and functional consistency. It documents components, styles, and interaction patterns, ensuring uniformity across pages and features. Starting with a simple, flexible system saves time and maintains coherence.
Popular references like Google’s Material Design or Apple’s Human Interface Guidelines offer ready-made frameworks that you can customize. Your design system should include:
- Standardized components (buttons, forms, modals)
- Typography, color schemes, and iconography
- Page layout patterns
- Interaction principles
A consistent design system not only accelerates development but also enhances user experience by providing familiar, predictable interactions.
- Develop or adapt an accessible, simple style guide.
- Define core visual elements (fonts, colors, icons).
- Use your system as a foundation for all UI components.
Step 4: Build Using Pre-Existing Components
At this stage, leverage existing component libraries or web templates rather than building from scratch. Using pre-designed elements accelerates development and ensures adherence to best practices. Platforms like Bubble offer extensive component libraries that align with design standards, making it easier to assemble your web app visually.
This approach allows you to:
- Save development time.
- Focus on customizing components to match your branding.
- Maintain consistency with your design system.
Tools like Bubble’s visual editor facilitate drag-and-drop assembly, reducing the need for coding and enabling rapid prototyping.
- Select suitable component libraries or templates.
- Customize components to fit your branding and style.
- Assemble your interface based on wireframes and design system.
Step 5: Adhere to Design Principles During Development
Following established design principles ensures your app remains intuitive, accessible, and engaging. Key practices include:
- Providing guidance: Never leave users in dead ends. Always include helpful notifications or prompts to guide next steps, such as indicating when a search yields no results.
- Grouping related tools: Place similar functionalities close together to reduce user effort and confusion.
- Progressive disclosure: Show only relevant options initially, revealing advanced features as needed to prevent overwhelm.
- Maintaining confidence: Clearly communicate what actions are successful or failed, avoiding silent errors that diminish trust.
Implementing these principles enhances usability, reduces frustration, and builds user confidence in your product.
- Always guide users with clear signals.
- Keep related tools in proximity.
- Limit options initially; reveal more gradually.
- Provide feedback for every user action.
- Avoid dead ends that can frustrate users.
Step 6: Test, Launch, and Iterate
Before launching your web app to a wider audience, conduct thorough usability testing with real users. Collect feedback on navigation, functionality, and overall experience. This helps identify issues early and refine the product accordingly.
After launch, the process doesn’t end. Continuous testing and feedback collection are vital for ongoing improvements. Establish regular review cycles to adapt the app based on user behavior, technological updates, and evolving needs.
- Conduct usability testing with target users.
- Gather and prioritize feedback for improvements.
- Launch gradually, monitor performance, and iterate continuously.
This iterative approach ensures your product remains relevant, user-friendly, and competitive over time.
Five Exemplary Web Application Designs
Studying successful web apps provides valuable insights into effective design principles. Many companies openly share their design systems, offering a wealth of inspiration. Here are five notable examples:
Stripe: Streamlined User Flows
Stripe’s web app manages complex financial transactions with clarity and simplicity. They avoid unnecessary clutter by highlighting key workflows, such as payment processing, and organizing data logically. Their minimalistic design facilitates quick understanding and management of finances, demonstrating how clean interfaces can handle complex data efficiently.
Headspace: User-Centered Calmness
Headspace exemplifies design that prioritizes user needs. The app’s interface is calm, simple, and welcoming, encouraging users to meditate. Pre-set categories like “sleep” and “relax” help users find relevant content easily, illustrating how focused, user-centric design enhances engagement.
Uber: Solution-Oriented Simplicity
Uber’s web interface emphasizes core functionality: booking a ride. Its minimal design features a map and straightforward input fields, guiding users effortlessly from start to finish. This focus on solving a specific problem with clarity is a hallmark of excellent solution-focused design.
Loom: Engaging User Prompts
Loom integrates prompts and guidance throughout its platform, such as quick start buttons and instructional videos. Consistent messaging and clear pathways help users begin recording videos instantly, reducing friction and enhancing usability.
Airbnb: Applying Core Design Principles
Airbnb combines cohesive branding with smart use of progressive disclosure and proximity. It presents curated listings upfront, guiding users seamlessly through search and booking processes, all while maintaining a unified visual identity that builds trust and recognition.
Crafting Your Web App with Bubble
Using Bubble simplifies the entire development journey by offering a visual, no-code platform that combines design, data management, and deployment. Key features include:
- Built-in databases for organized data handling.
- Pre-made components aligned with best practices.
- Visual editor for drag-and-drop design.
- API integrations for testing and feedback.
- Hosting options for scalable deployment.
This integrated environment enables you to progress from initial wireframes to a functional MVP without extensive coding. Plus, Bubble’s flexible plans allow you to build freely until you’re ready to launch, making it accessible for startups and entrepreneurs alike.
Start building today on the free plan—only upgrade once your product is ready for launch.
Join Bubble and bring your web app ideas to life.